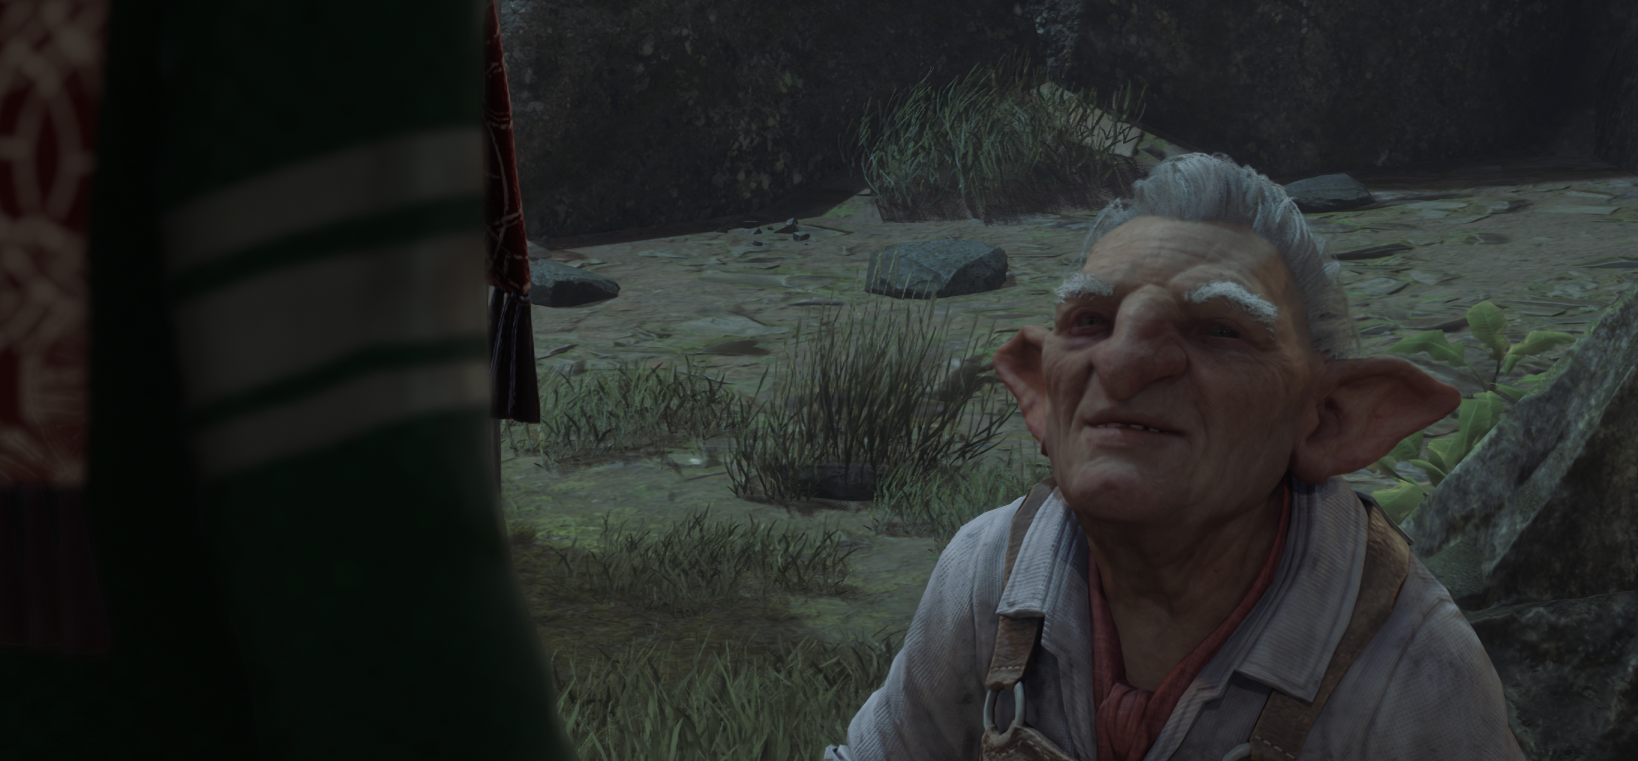
One of the main story quests you will have to go through to progress is the Helm of Urtkot quest, which is given to you by Lodgok, where you have to reclaim an old relic that was stolen from the goblins years ago. You must go through the cave and pass a few puzzles that require you to understand many of your spells to pass the moth doors.
I’ll give you a complete walkthrough of the Helm of Urtkot quest and help you get past the moth puzzles in Hogwarts Legacy. Let’s begin!
Note: I realized halfway through that it was moths and not butterflies. I am an idiot. If I accidentally call them that, my bad.
First Moth Door

All you need for the first moth door is to go to your left and use Lumos when near the moth. It will then fly to your wand and follow you for as long as the spell is active.

Once you return to the door with the moth on your wand, turn off lumos and let the moth fit itself in the door. Boom. You just completed the first puzzle!
Second Moth Door

After moving through the ruins and exploring some optional areas, and picking up all the gold lying about, you will reach a room with another moth door.

For this area, you will need to cast depulso on one of the doors that looks all beaten up. Afterward, you will be able to enter the room and collect the final moth (out of three) that is in that room.
Congrats! Second door is complete.
Fighting Inferius

In the next room, you are going to have a combat encounter with several Inferius. These are undead enemies that don’t take damage unless you use a fire spell on them first! Use either Incendio or confringo before any other spell. Otherwise, you won’t do any damage!
Of course, there are some barrels around the environment that you can throw at them. Some of these are explosive and can function as fire damage.
Whichever way you choose, just remember fire = damage!
Third Moth Door
After fighting off the undead and running through the ruins even more, guess what? You’ve got another puzzle to do! And this one will require you to use your spells and even the moths in more creative ways.

For this puzzle, you will have a moth pedestal in the middle of the room. You need to take one of the moths that you would normally put in the door in this pedestal.

After placing it inside the pedestal, you will now cast depulso on it. This will cause a pillar to rise which you can then climb on and get to the final moth you need to open the door.

Now all you need to do is:
- Grab the moth
- Jump down
- Put the moth in the door
- Go back to the pedestal for the other moth
- Put that moth in the door
Voila, you have just opened the next area!
Shooting a hole in the floor
The next room isn’t so much a puzzle, but you still need to be clever and pay attention to get through it.
There is an optional room here that you can open with depulso. You will have to do some accio to move the box around, but the room is totally optional and just has some loot in it.
As for progress in the main story, you need to shoot the hanging debris down to create a hole in the floor.

Jump through that hole and go to the next room.
Inferius & The Puzzle
The next room has a large amount of Inferius to fight. You’ll have to fight a few waves, but there are plenty of throwable objects in this room to use. Just remember that you need to use fire, or else you can’t damage them!
As for the moth puzzle, this one takes a second to figure out.

First, put a moth in the pedestal again. This time, instead of just one depulso, you will need to cast it twice! Otherwise, you won’t be able to go up high enough on the stone platform.
Then grab the moth that is to the left of you (using the pic above). Place that in the door.
You will now need to jump down and place a butterfly on a “holder” that will be lifted once you use the pedestal. It will be to the left of the moth door.

To do so is the same exact way you would place a moth in the door. Just use lumos and get close to the moth perch before turning it off.
Next, use the double depulso again, climb up the pillars, and grab the moth from the perch before it lowers. Take that butterfly and put it in the door.

For the final moth, just go a little bit to the right of the door. You’ll find another moth waiting for you.
Initially, I thought you had to do some weird trick to somehow get the moth from the depulso contraption. Nope. There’s just another moth conveniently placed nearby.
Leaving & Retrieving the Helmet
Once you go through the final door, you will find a dead ash winder. Loot the body for a signet ring and then exit the ruins using the secret door behind the ash winder.
You’ll have to explain to Lodgok that the helmet is missing. He will then instruct you to retrieve it from a nearby bandit camp. Using your broom, travel over there, retrieve it, and present it to Lodgok. You will then be finished with the quest!
And that’s the end of the Helm of Urtkot quest in Hogwarts Legacy! Hopefully, this walkthrough helped you with the many puzzles. Good luck, wizards and witches!


