
Jedha is the third planet you land on during the Jedi Survivor story. This mission requires you to rendezvous with Cere’s contact and finally meet Cere herself at the end. While it sounds straightforward, the level design in Jedi Survivor can be quite confusing.
This walkthrough will show you where to go during the Jedha mission and how to solve all the puzzles. Screenshots included.
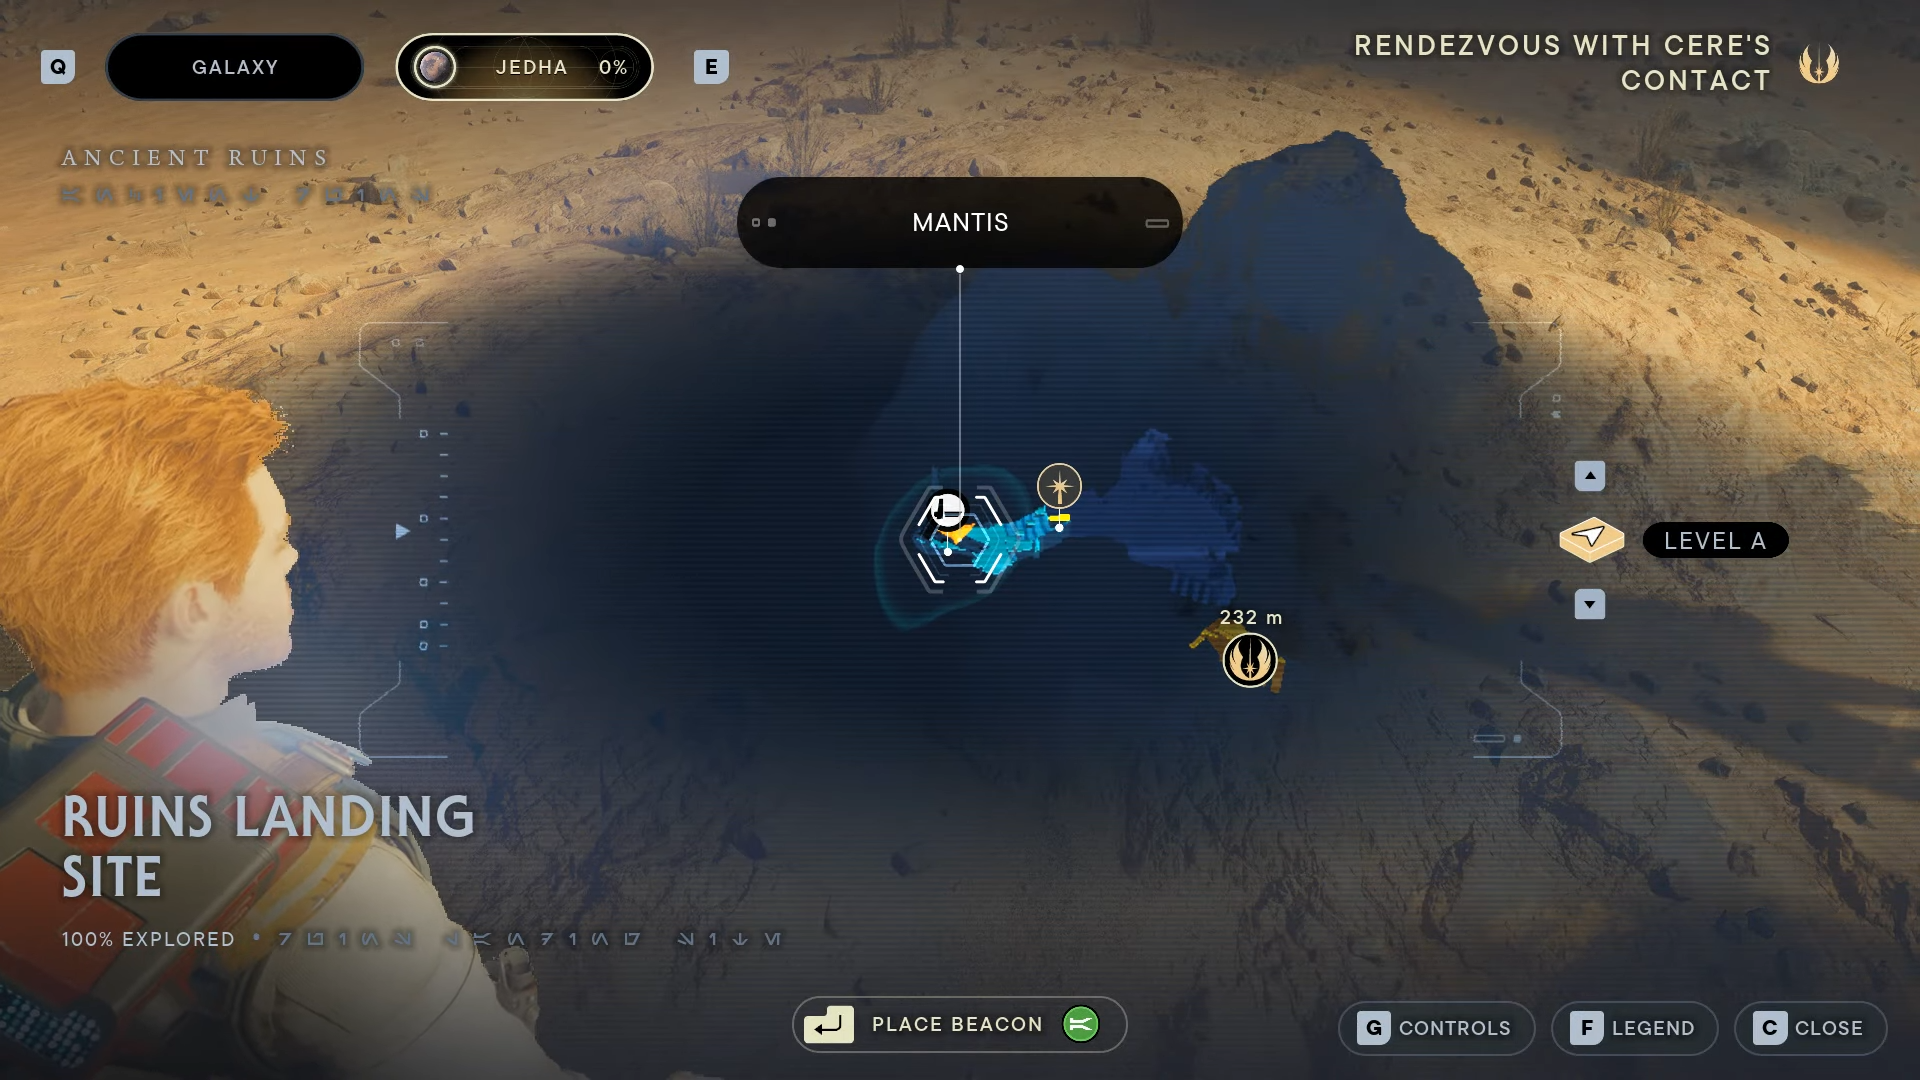
Landing on Jedha

First things first, you will land on Jedha with the current object to find and rendezvous with Cere’s contact. You will have to traverse this cliff with several parkour elements in it. Nothing too complicated, and you should already be quite familiar with most of the mechanics involved.

You will need to jump onto the rocks to get to the first wall sprint section. Afterward, you will slide down to the cliff on the right side of the above screenshot. There will be a couple of bugs you can attack (and scan) right next to a wall jumping section. Climb this and use the ledge to reach the next wall sprinting section.
Once completed, there will be a shortcut you can activate and a meditation spot for you to use.
Avoiding the Sand Creature

The next puzzle in the area is avoiding the sand creature. Walking on the sand will cause this deadly creature to chase you and quickly swallow you whole. Thankfully, the solution to the puzzle is quite easy.

Directly in front of you, there will be a giant slab of stone you can jump on. All you have to do is run there as quick as you can, and you will be safe. I’m not sure if it is intended to be this easy, but that’s about it.

Next, you have to force-push the giant metal door blocking your way. Once you go through, there will be a group of stormtroopers being attacked by a sutaban.
To the right of when you first entered the metal door, there will be a path that you need to follow to continue with the mission.

There are some very simple ascension cable and wall-running sections you will traverse to get to the next area.
As you continue on, the floor will cave, and you will slide toward the monster that has been chasing you the whole time. Jump over it and onto the nearby rocks to get out of the sand.

You’ll see a giant pillar in the middle of the sand. You will need to climb this while avoiding falling so you don’t end up being eaten by the monster at the bottom. It can’t do anything while you’re climbing, so don’t worry.
For me, I just got really high on the pillar and double-jumped backward to reach the ledge. However, there is actually a swing pole you are supposed to use. Either way works.

Once you’re up there, you’ll be fighting more bugs and then have to wall run up to the next area. Thankfully, there is another shortcut up here so it won’t take as long the next time.

There will be two flame troopers in the area. I recommend using force-pull to quickly take them out or wait for the flames to stop working. After taking them out, you’ll come across a metal beam above a group of stormtroopers. Jump on this beam and head to the next checkpoint/meditation spot.

There will be a climbable mesh nearby for you to jump to. After you’ve climbed far enough, a stormtrooper will attack you and cause a quick time event.

From here, you will be in an arena fighting multiple stormtroopers, including the flying stormtroopers. Defeating them will play a cutscene, and you will find out that Cere’s contact is actually Merrin!
Travel to Cere’s Base

You and Merrin will now need to fight off a bunch of different enemy types.

After defeating them, you will need Merrin to create grapple points for your ascension cable. Go up the ledge, follow the path to the right, and then force-push the large box into the small nook in the arena.

Jump on the box and then double-jump to reach the ledge. Sometimes you need to move the box closer, and it might take a few attempts.
Upon reaching the next area, you will fight a bunch of stormtroopers who will destroy Merrin’s ride. From here, you will now have to reach the spamels to escape the area.
Getting to the Spamels

After the fight, use Merrin to create a grapple point and then wall-run your way across the chasm. The next section is a bit tricky and usually gets people to fall the first few times they do it.

You need to wall-run for part of the section and then jump past the break in the wall to continue wall-running. Again, it is a bit tricky at first, but you’ll get it.

From here, you will have another wall-running section and then squeeze through a small crevice.
You’ll have to then force-push the door in, which will cause it to crash, and then Merrin will fix it, allowing you to pass.

What’s next? You guessed it. More wall-running!
Thankfully, there is a meditation point here you can use and take a break if you so choose.

There will be a ledge where you can jump down and fight stormtroopers with Merrin, after which you will need to create another grapple point and use the grates to traverse the area.
There’s going to be a surprise flame trooper when you turn the corner down the stairs in this area. Be ready for that jump scare.
You can then jump down and surprise attack a stormtrooper below. There will be another stormtrooper on the other side that will shoot at you. Either parry the shots back at them or force-pull them.

You’ll need to wall run and climb the grates by the stormtrooper. While you climb to the next area, Merrin will take care of a squad of stormtroopers. Continue up this ledge.
Next, you’ll have a wall you can slide down and a grapple point you will use to climb to the next area.

In this area, there will be some stormtroopers, and some collectibles, among other things. The main path, however, is simply following the lines in the screenshot above.
There will be a side path that leads to some grates that you can climb to reach the next area, which has stormtroopers and a shortcut point.

Skriton Boss Battle

Once you unlock the shortcut, you can jump down the wall nearby and enter the Skriton boss battle. Here you will fight the monster that attacked you earlier in the mission.
A few tips for this fight are to avoid the left side of the Skriton (the one with the big claw) and dodge the tail attacks if possible. You can cut off the Skriton’s claw, but it is rather dangerous to try.
After the battle, there will be another grapple point for Merrin to create for you.

This area is where you will find the Spamels. Tame one of them using the hotkey of your platform (RB, CTRL, etc.) and then ride them out of the area.

You’ll end up in a cutscene as the storm approaches, ambushed by another Skriton. You will then need to find Merrin and trudge through the storm to find a safe area.
AT-ST Boss Battle

Once you reach the area with the stormtroopers, you will have to fight an AT-ST. This boss is rather difficult if you don’t know its attacks.
My main tips for beating the AT-ST are to either go up close and personal to destroy it as quickly as possible or wait for it to use its attacks and then push them back at it.
The missiles it shoots can be force-pushed back into it for lots of damage, and the AT-ST shoots parryable projectiles as well. The only attack you need to worry about is the unblockable attack when it glows red.
After you beat the AT-ST, you will have several cutscenes involving you and Merrin.
Where to Find Cere – Cere’s Base

You’ll have more grappling and wall-running sections up ahead, first in the cave and then outside the cave.

You will then reach a door that you will need to force-push open. Another cutscene will commence.

After the cutscene, you will start exploring Cere’s base and talk to Eno. There is a lot of walking here and nothing that requires any real brain power. Just listen to the lore being thrown at you.
How to Find Cere in Cere’s Base?

Eventually, you’ll all reach the Mantis, and you will have to go find Cere. To find Cere, you have to force-push a ball that is on the left side of the wall in the corridor you go through on your way to Cere. Just go to your left when walking into the room and force-push the ball. That’s how you find Cere.

Personally, I thought this design was really stupid. It looked exactly like the other door you had to force-push, so that was what I thought at first. Also, I don’t understand why this part has a puzzle. It took me way too long to figure this out.

Anyway, that’s it! You’ve found Cere and completed the mission! Check out our other guides and walkthroughs on Jedi Survivor! We have plenty on some of the more confusing parts so if you’re ever stuck, check out our guides!
Good luck out there.


