
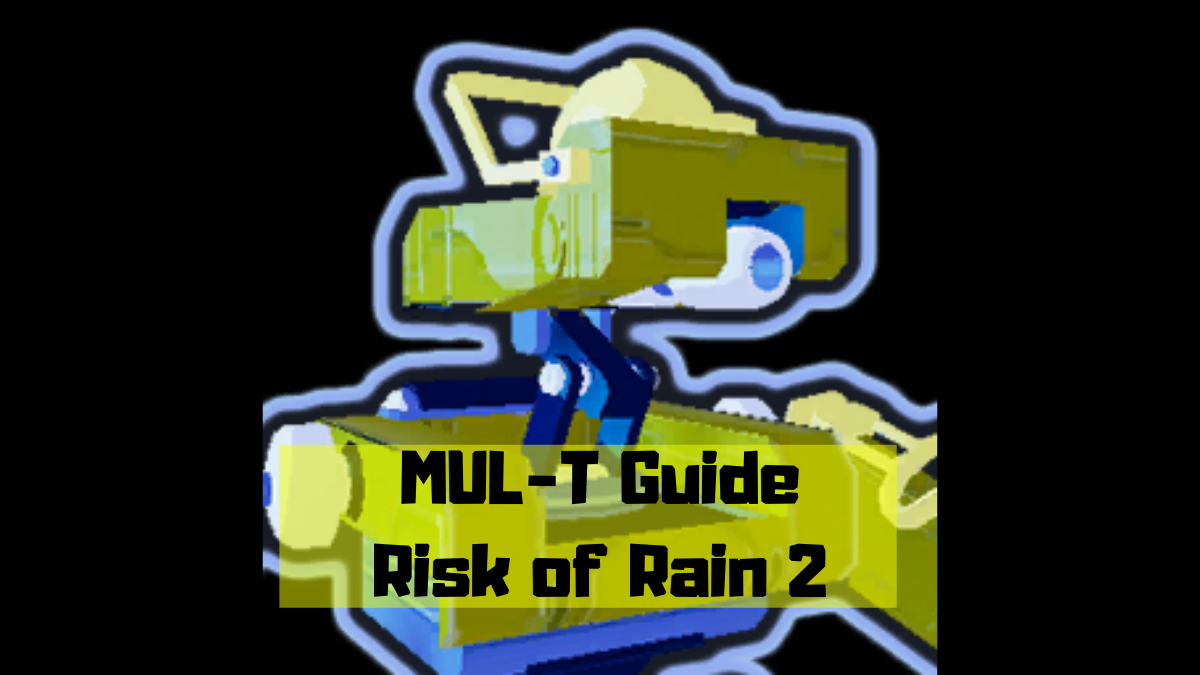
MUL-T is the bestest robot in all of Risk of Rain 2 (eat your heart out Rex) and one of the strongest survivors in all of ror2. So, to help you reach your maximum potential with MUL-T, and maybe help you beat Monsoon difficulty a bit easier, I’ve crafted this MUL-T guide. This guide will go over all of the best items on MUL-T as well as some tips on how to play MUL-T better.
If you need to unlock MUL-T, check out my unlock guide for every survivor. Otherwise, continue reading.
Table of Contents
How does MUL-T Play?
Like I said, MUL-T is one of the best survivors in Risk of Rain 2. The reason for this is because he has the highest DPS potential of all ror2 characters because of his insane attack speed with his rail-gun. If you have ever read a guide from me before you have probably heard me talk about proc coefficients, which are just the lil numbers that determine how much an item procs. Well, MUL-T abuses the f*ck out of them.
MUL-T is blessed with the best attack speed in the game with his auto-nail gun, although, the proc coefficient is decreased to .4, meaning he procs 40% less with every item. That being said, the attack speed is so great you end up proccing more with MUL-T than most other survivors in the game. Also, because MUL-T has such high attack speed, modifiers like Soldier’s Syringe, which increase attack speed based on the percentage and not by a base amount, will buff MUL-T’s DPS even higher.
To put it simply, MUL-T just holds down the primary attack button 90% of the time. You could, of course, run different loadouts, but most other loadouts share the same modus operandi.
My favorite thing about MUL-T though is the fact he has the highest HP in the game AND it scales the best out of every survivor as well. So, he can do the highest DPS and has the most HP. Unfair man. Nobody tell Commando about this okay?
This means that MUL-T can be in the midst of the action without worrying too much about dying. Pretty brain-dead survivor.
MUL-T’s Abilities
This section will be a brief description of all of MUL-T’s many loadout options. If you want to unlock every ability for MUL-T or would like to know which ability is best for each slot, check out my loadout guide.
MUL-T’s Passive: Multifunctional

MUL-T’s passive allows him to run two pieces of equipment at one time. By using re-tool you can swap the equipment slots. One thing to note about this passive is that each equipment has an independent cooldown. That means that you can use one of the equipments you have without having to worry about the CD of the other piece of equipment.
MUL-T’s Primary


Auto-Nailgun is the best primary, I’ll spoil that for you early. You fire rapidly for sixty percent damage with a proc coefficient of .4 which sounds bad on paper, but is actually a fair trade-off. The attack speed alone makes up for the minuscule damage and proc chance you have and gets better the more attack speed items you stack.
Rebar Puncher is essentially a sniper that shoots for six hundred percent damage. Sadly, this is the opposite of his Auto-Nailgun, you trade damage for attack speed and it is not worth it in this case. Even when you stack several Crowbars (they increase damage on enemies above 90% health), it still won’t make a tremendous difference.
Scrap Launcher and Power-Saw are just meme abilities. Scrap Launcher has a cooldown which is just a no-no for a primary ability when your other two abilities can’t compensate (his utility and special). Power-Saw turns MUL-T melee and in return, MUL-T can do a whopping 1000% damage per second, which again, sounds good on paper. However, once you try it out once for yourself, you’ll never pick up the Power-Saw ever again.
MUL-T has a weird thing going on with his primary abilities, he technically has four. Even weirder, he can have two at once. This means that he can run Auto-Nailgun and Rebar Puncher at the same time without having to choose between one or the other.
One quirk that you need to take advantage of is the fact you can have two of the same primaries at the same time. Most people use this to equip two Auto-Nailguns because it is undoubtedly his best ability. Otherwise, when you use Retool, you end up sometimes swapping to a primary that you would rather not have out at the time and could end up dampening your DPS.
I personally run Rebar and Auto-Nailgun because the Rebar is good for sniping hard to reach lesser wisps (the nailgun is super inaccurate).
MUL-T’s Secondary: Blast Canister

Blast Canister is a stun within a stun. Shooting the Blast Canister launches a stun canister for 220% damage with a proc coefficient of 1, which will then explode into more little stun canisters that do 5×44% damage with a proc coefficent of .3.
The long cooldown of six seconds makes it less ideal for doing damage and mainly used for times when you need to stun an enemy like a Clay Templar.
MUL-T’s Utility: Transport Mode

Transport Mode is MUL-T’s main way of, well, transporting himself. It is his only mobility ability and scoots him around at a fairly decent speed, and much like Loader’s punch does more damage the faster you go.
Transport Mode gives MUL-T 200 armor and deals 250% damage to all enemies he collides with while also stunning them. Small enemies are simply charged into and pushed aside, while larger enemies will stop the skill and take an additional attack (aka 500% damage).
You can use this ability as either a transport ability, a utility ability for its stunning potential, or even for more DPS. It is a pretty versatile skill, so use it however you want in the moment.
MUL-T’s Special: Retool

MUL-T’s Retool is simple ability. It is what allows you to swap between your equipment and primary abilities. That’s it. No damage, no other benefit, just the swapping between equipment and abilities.
MUL-T’s Rotation
Usually I would put a survivor’s rotation here, but for MUL-T, you really don’t have a rotation to stick to. You mainly hold down your Auto-Nailgun and throw out your Blast Canister whenever you need to stun an enemy. Otherwise, you aren’t doing damage.
TL;DR: Tape down your primary ability hotkey.
Best Items for MUL-T
This section is an item guide for MUL-T. In other words, these are items that are best on MUL-T and not just the best items overall. If you want to see the best items in the game ranked you can check out my item guide for Risk of Rain 2.
- Crowbar – If you use your Rebar this will just add to the damage it does, otherwise it really isn’t that good on MUL-T
- Soldier’s Syringe – Better on MUL-T than anyone else because of the percent increase to his attack speed (the highest in the game)
- Paul’s Goat Hoof – Increases MUL-T’s utility skills damage and helps his slow a** move around the map
- Hopoo Feather – MUL-T lacks mobility
- Personal Shield Generator – One of the few survivors that can viably run a shield build (because of his immense health pool)
- Berserker’s Pauldron – Attack speed increase ayy
- Stealth Kit – Helps with the shield build
- Ukulele – Proc item goes brrrr
- 57-Leaf Clover – You shoot a metric f**k-ton of nails at enemies. With a clover, you can roll each of these for a better outcome
- Transcendence – A lunar item that doubles health but converts it to shield. For the shield build
I broke my rule of not adding certain items to the item guide for MUL-T because they are much much better on MUL-T than on other survivors. Soldier’s Syringe would normally not get added to the list of items for a specific survivor because duh you want survivors to attack faster, but it is just much better for MUL-T to get than other ror2 survivors.
For the Survivors of the Void DLC, here are some of the best items to add into your build:
- Plasma Shrimp – AMAZING for MULT
- Polylute
- Shuriken
- Lost Seer’s Lenses
- Safer Spaces
End
And that’s it for the Risk of Rain 2 MUL-T guide. I’ll make sure to keep it updated so the guide doesn’t become outdated.
Hopefully this all helps you get better at MUL-T! Thanks for reading.


