
Starfield contains several interesting quests in its story, but none of them even come close to the Burden of Proof. It is a rather ongoing quest that starts with you joining the Crimson Fleet and remains active until the final showdown of the pirate faction. As you join the fleet as an undercover agent, your goal is to collect 20 pieces of evidence of its corruption while maintaining a reliable reputation within the fleet.
Long story short, you must collect 20 pieces of evidence during the Crimson Fleet questline. Once you acquire evidence, bring it back to Lieutenant Toft to collect your reward. Furthermore, the more pieces you bring back, the more rewards you will gain. The only problem is that these slates and recordings are hidden in the most unexpected locations. Therefore, this article provides a complete Burden of Proof walkthrough along with all evidence locations.
Table of Contents
Starfield Burden of Proof Walkthrough:

The burden of Proof is a rather simple quest compared to other faction missions like “A Legacy Forged.” You will join the Crimson Fleet as an undercover agent to infiltrate the pirate organization. Before you begin your job, Lt. Toft asks you to collect as many pieces of evidence as you can find and bring them back to her to shut down the criminal organization for good.
You will unlock the quest after you are caught committing a crime within UC territory. During the interrogation, the Commander asks you to infiltrate the pirate faction. Also, during your visit to UC Vigilance, Lt. Toft asks you to bring back solid pieces of evidence. Moreover, you will also get a hefty sum for securing each slate and a special weapon near the end of the quest.
Once you unlock the Burden of Proof quest, it will remain active until the final showdown. However, if you fail to provide all 20 pieces, the quest will fail, locking you out of the remaining rewards. Lastly, you need to collect at least 15 pieces to help UC SysDev Division. Furthermore, you can also complete the Crimson Fleet questline without acquiring any evidence.
To collect your rewards, bring the evidence back to Lt. Toft. Each piece is worth 2,100 credits, making it the safest way to make money in Starfield.
All Evidence Locations:
Now that you know what to do with the pieces of evidence, it is time to start collecting them to earn sweet cash. While you can find most of these pieces in common locations, some of them are only available during specific quests. So, the best way to collect evidence is to read this article as soon as you join Crimson Fleet.
Otherwise, you can’t go back to collect the missing pieces after completing those quests. In any case, here are all evidence locations in Starfield and how to collect them:
The Naeva Meetup Evidence:
- Quest: Deep Cover
- Location: Cydonia
- Missable: No

After the interrogation at UC headquarters, you will be directed to Cydonia. Here, you must make contact with an informant and convince him to lead you to The Key. However, before you go ahead on your pirate journey, look on the messy desk behind Adler Kemp to find The Naeva Meetup, your first evidence piece.
Carter’s Gig Evidence:
- Quest: Echoes of the Past
- Location: The Lock (Carter’s locker)
- Missable: No

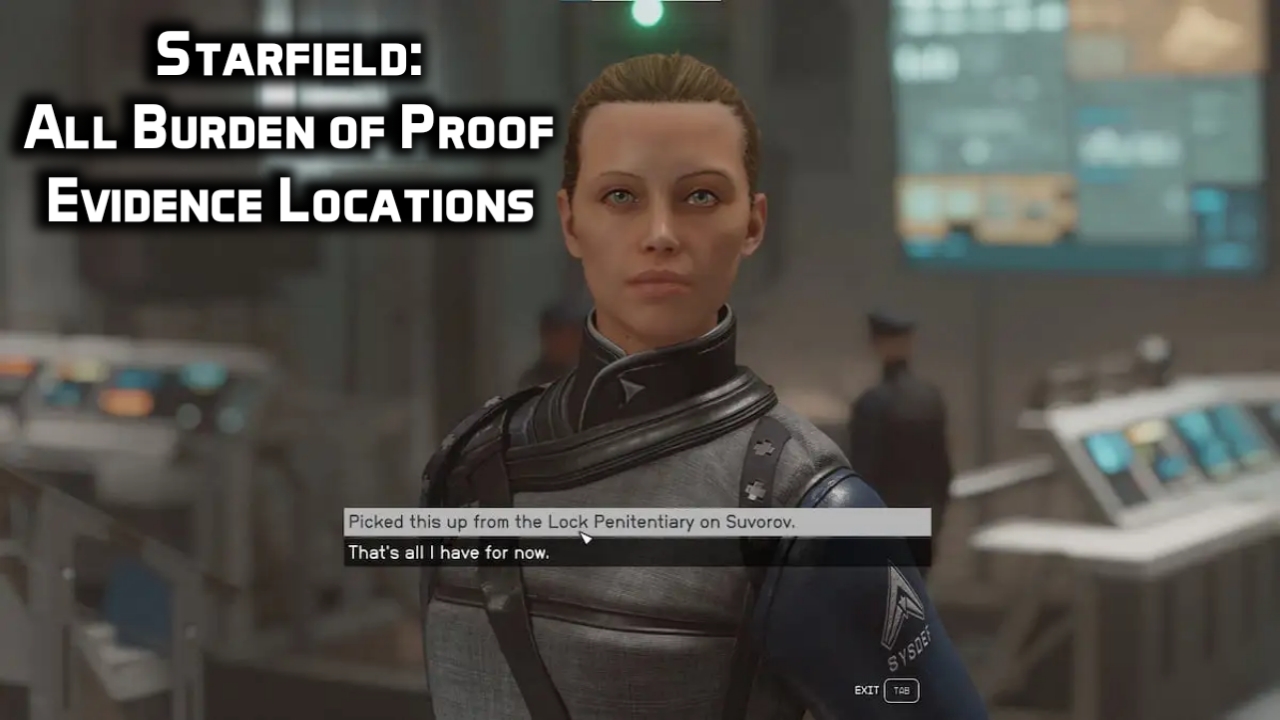
Your visit to The Lock prison facility is rather rewarding, and you don’t even need to persuade anyone for it. For instance, you can find two pieces of evidence from within the facility. The first evidence, Carter’s Gig, is located in the shower room. After you open the lamp in Kryx’s cell, you must open Carter’s locker in the prison cell to acquire the escape route. This evidence is located inside this locker, right next to the escape plan.
Warden’s Log Evidence:
- Quest: Echoes of the Past
- Location: The Lock (Warden’s Room)
- Missable: No

The second piece of evidence is available near the end of the quest. After clearing out the prison barracks, you will eventually end up in the Warden’s Room. Here, after speaking with Delgado, search the filing cabinet right beside the intercom. Finally, collect the evidence, defeat the boss, and use the prison ship to escape from the facility.
Request Denied:
- Quest: Breaking the Bank
- Location: Siren of Stars Cruiseliner (captain’s room)
- Missable: Yes

You will visit the Siren of Stars Cruiseliner during the Breaking the Bank quest. After speaking with Rokov, head straight to the crew quarters. Take a right to find the captain’s quarter right next to the Cherry drink machine and make your way to his bedroom. Finally, search the shelf on the left side of the bed to find the Request Denied text log.
GalBank Plan:
- Quest: Breaking the Bank
- Location: Siren of Stars Cruiseliner (Gabriel Vera)
- Missable: Yes

The Galbank Plan is an important piece of evidence, but it may or may not yield any rewards. After your first meeting with Gabriel Vera near the VIP zone, you will again encounter him in the privacy of his room. Here, he offers you the information (evidence) for 2,500 credits. You can’t persuade this informant, so that’s off the menu. So, your only options are either to pay the sum or kill him with stealth and loot the evidence from his body.
Huan’s Talk Evidence:
- Quest: The Best There Is
- Location: The Well (Kay’s house)
- Missable: No

After your maneuver in the Siren of Stars Cruiseliner, the questline will take you to The Well. Here, Huan will guide you to the ship to get what you are looking for. However, instead of going straight to the ship, head to Kay’s house near the bar. Finally, make your way to the kitchen on the lower floor to find Huan’s Plan (evidence) on the bench.
Eubanks & Woods Evidence:
- Quest: The Best There Is
- Location: The Well (SY-920 Ship)
- Missable: Yes

The next evidence is located inside Gabriel Vogel’s lab. After making your way to the lab in SY-920, instead of talking to Vogel, head through the series of doors at the end of the lab. Finally, turn left and search the wheeled cart to find the Eubanks & Woods evidence.
The Big Score:
- Quest: Absolute Power
- Location: Neon (Madame Sauvage’s Place)
- Missable: No

During the Absolute Power quest, you will be sent to Neon to contact Estelle Vincent. After your initial investigation, you will be directed to Madame Sauvage’s Place in Ebbside to find Estelle. However, instead of speaking directly with the contact, head to the door on the left side of the bar. Next, take a right and search the cabinet between the two beds to find The Big Score evidence.
Meeting with Bayu Evidence:
- Quest: Absolute Power
- Location: Neon (Ayumi Komik’s private office)
- Missable: No

This next evidence is part of the Absolute Power quest. After speaking with Estelle, you must visit a few locations to progress the mission. So, pursue the ‘Locate evidence to extort Ayumi Komiko’ optional objective to find it. Not only will this objective yield rewards for the current quest, but it is also useful for the Burden of Proof.
Head to the Astral Lounge and take the business elevator on the right. Next, choose Generdyne Industries and persuade Ji Nashida to allow you to go to Ayumi Komik’s private office. Next, enter sneak mode and carefully snag the safe without alerting anyone to collect this evidence.
Ayumi’s Offer Evidence:
- Quest: Absolute Power
- Location: Neon (Euphorika Bar)
- Missable: No

The Absolute Power quest will naturally lead you to the Euphorika Bar to meet Ayumi Komiko. While you are at it, search the shelves behind the bar to collect Ayumi’s Offer. However, you should collect this piece during the quest, or else you will be forced to pay 5,000 Credits to again enter this VIP lounge.
Message for Bog:
- Quest: Reclaiming the Past
- Location: Abandoned Ecliptic Garrison
- Missable: Yes

This next piece of evidence comes as a part of Reclaiming the Past side quest. Speak with Bog on The Key several times to unlock this quest. Next, follow the marker to an Abandoned Ecliptic Garrison, not very abandoned. Fight your way to the main hub building at the top of the hill. Finally, enter this structure, fight the boss, and search the yellow crate to acquire Maddie’s Ring and the Message for Bog evidence.
Gennady Ayton Evidence:
- Quest: Doctor’s Orders
- Location: The Clinic
- Missable: Yes

Gennady Ayton becomes available during the Doctor’s Orders side quest. During your stay at The Key, you will come across an NPC named Samina in the Medical Bay. After a few conversations, she will inform you that the crew has a shortage of medical supplies. So, your job is to visit The Clinic orbiting Deepala in the Narion System. Once you dock with the ship, use your scanner to reach Ayton’s office. Finally, search the stack of servers on your right side to find Gennady Ayton (evidence).
Kreet Offer Evidence:
- Quest: Burden of Proof
- Location: The Den
- Missable: No

Most players who sell their wares to the Trade Authority prefer The Den over other locations. So, if you are also into scavenging, you have probably already visited this location a couple of times. On your next visit, head straight to the upper level and go near the tables overlooking the bar. Search these tables to find Kreet Offer (text log) evidence on the central table.
HopeTown Raid:
- Quest: Burden of Proof
- Location: Hopetown
- Missable: No

You can’t miss this piece of evidence unless you play the game with your eyes closed. Basically, when you land in HopeTown, you will find the Pit Stop bar right in front of your landing site. Enter the building and go straight toward the bar. Next, go to the right side to find HopeTown Raid (text log) evidence in the corner.
Mira’s Demise:
- Quest: Burden of Proof
- Location: The Key
- Missable: No

This next piece of evidence requires a bit of exploration. Basically, on your next visit to The Key, follow the handwritten signs on the wall to find the Bunks. Head inside the main entrance to the Bunks and keep going until you find a room with a barbell (on your left). Go inside this room and search the bedside tables to find Mira’s Demise.
Request A17 Evidence:
- Quest: Burden of Proof
- Location: The Key
- Missable: No

Again, head to The Key and visit the main trade area. Here, locate and enter Jasmine Durand’s office on the same floor. Go inside and search the right corner to find Request A17 near the toaster-like hardware.
Voss’s Parts:
- Quest: Burden of Proof
- Location: The Key
- Missable: No

This next piece of evidence is fairly easy to miss, even when you are standing right next to it. To find it, go above the Command Center in The Key to find Delgado’s office. Head inside the room, turn right, and go near the computer in the corner. You will find Voss’s Parts sitting in a holder right next to the computer.
Chunks Heist:
- Quest: Burden of Proof
- Location: Red Mile, Porrima III
- Missable: No

You won’t come across Chunks Heist without wandering far off the main story path. To find this evidence, open the fast-travel menu and zoom out until you see the galaxies. Next, search for the Porrima System and reach the orbit of Porrima III. Finally, bring out your scanner and search for a landing site named the Red Mile. After landing, head straight inside the only building and take a swift left to enter the gambling area. You will find Chunks Heist sitting in the far-left corner of the hall.
Chiroptera Evidence:
- Quest: Burden of Proof
- Location: Gagarin’s Landing
- Missable: No

For this piece of evidence, you don’t need to travel too far. Simply open the map and zoom in on the Alpha Centauri system. Next, search nearby planets to New Atlantis to find Gagarin. Enter the planet’s orbit and search for the Gagarin’s Landing site. After landing your ship, go straight towards the built-up complex until you reach a staircase. Go down the stairs and past the Centauri Mills building to find Lizzy Ajello’s bar. Go inside the bar and search the right corner to find the Chiroptera evidence.
GBLR013: Mortem Orbire:
- Quest: Eye of the Storm
- Location: The Legacy Ship
- Missable: Yes

During the Eye of the Storm quest, fight your way past the onslaught of robotic enemies on The Legacy Ship. When you reach the control room, look for Jasper Kryx’s dead body (collect the legendary rifle as well). Search the floor near the corpse to find GBLR013: Mortem Orbire among the stash of tasty credstiks.
Burden of Proof Rewards:

Lieutenant Toft gives you 2,100 Credits for each piece of evidence that you deliver to her. While you only need to find 15 pieces to unlock the main reward, you can keep going to earn some extra cash.
Generally, if you collect and deliver all 20 pieces of evidence, you will get the following rewards:
- Memento Mori Pistol (The best side weapon)
- 2,100 x 20 = 42,000 Credits
However, if you only collect the required 15 pieces, your Credit rewards will drop to 31,500, and you will still receive the legendary pistol.
Conclusion:
Starfield is one of those games that doesn’t hold your hand and guide you to your objectives. You will come across several side quests where you must wander in the huge universe to find the required items. For instance, the game doesn’t guide you to all the artifacts to unlock Starborn powers. Similarly, you must collect all pieces of evidence yourself to complete the Burden of Proof. Therefore, this article provides the exact locations of all evidence pieces to complete this quest.


