
Trapper is one of the first and most popular killers in Dead by Daylight. With one of the most basic kits in the game, Trapper isn’t seen as much of a threat. However, in this Trapper guide for Dead by Daylight, I show you how to consistently get 4k’s at high ranks (red ranks) and give you some tips and tricks on how to play Trapper in DBD.
Wanna see where Trapper ranks among all the other Dead by Daylight killers? Check out my Dead by Daylight killer tier list.
Let’s get to it.
Note: even though there are changes and updates in DBD all the time, Trapper usually always stays the same. With a few perk changes here and there.
Table of Contents
How to Play Trapper in DBD
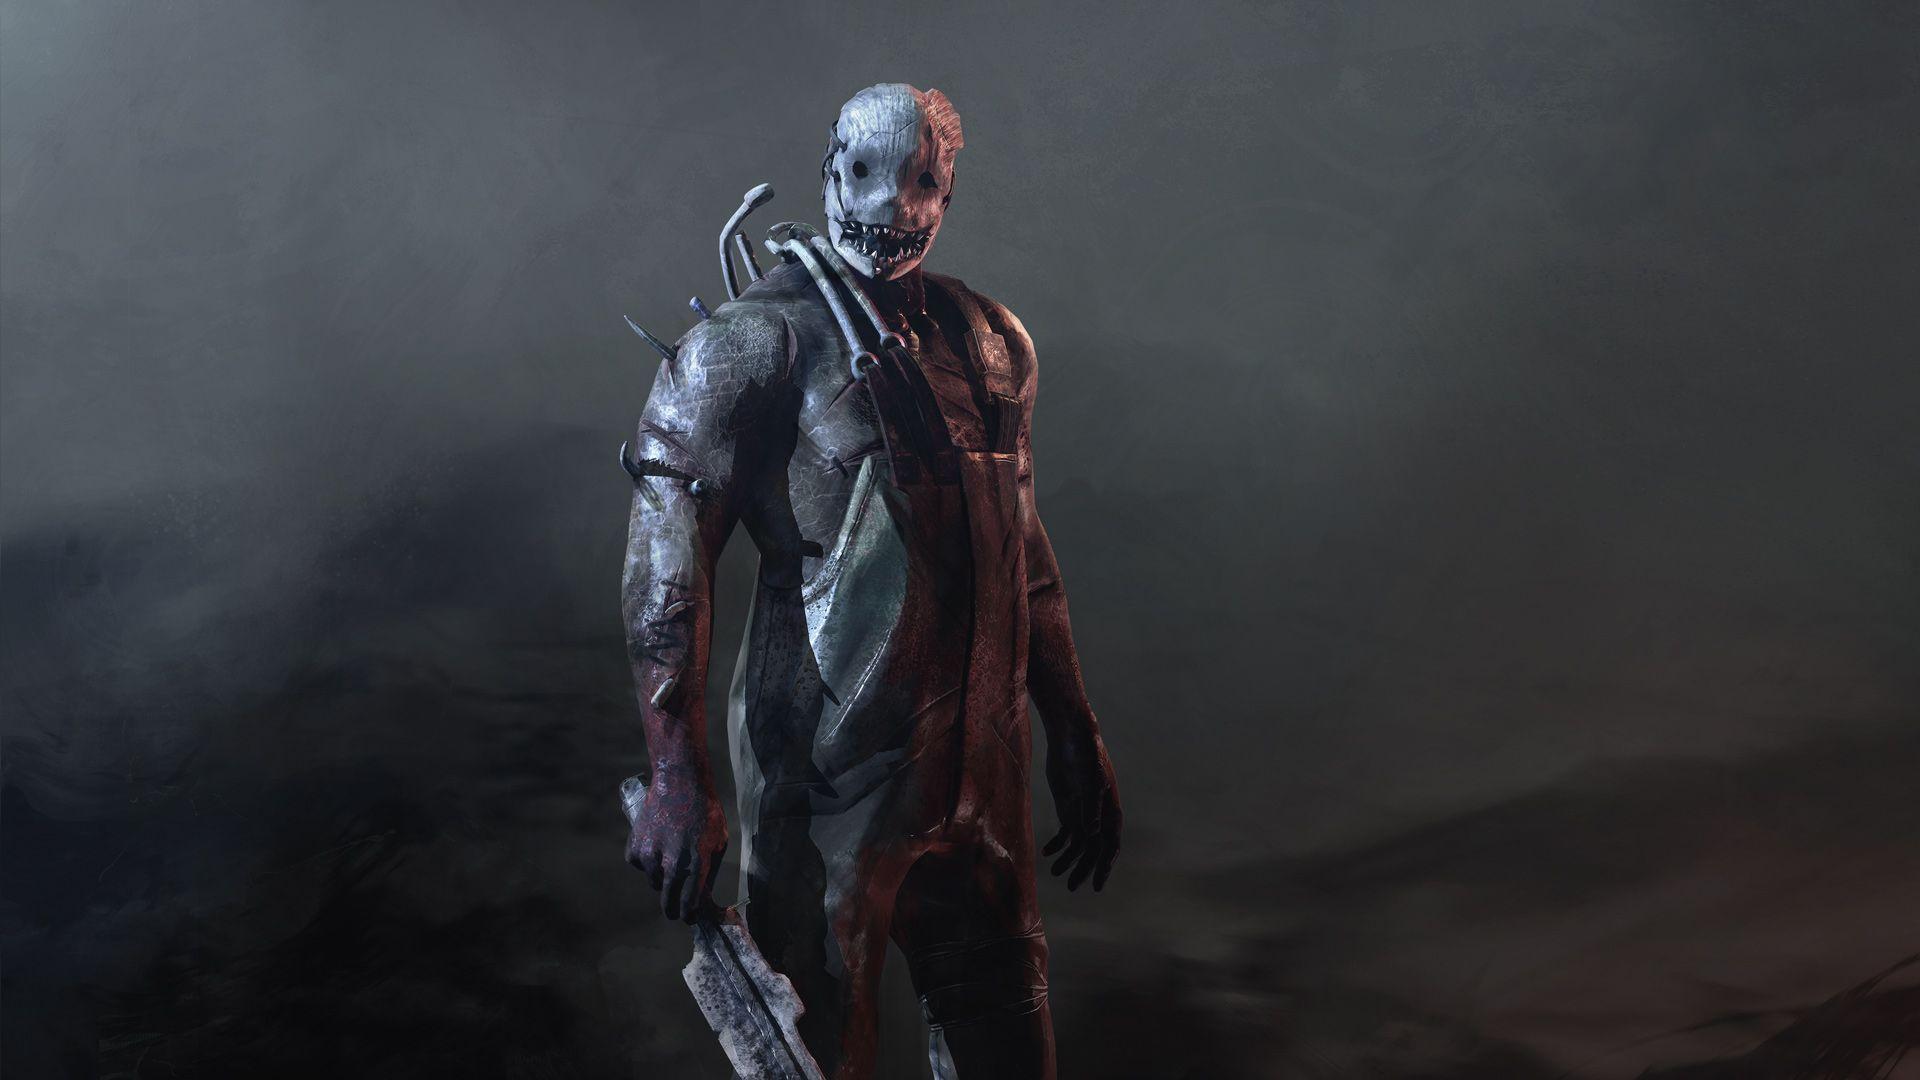
Trapper is a basic M1 115% move speed killer with a 32-meter terror radius. He is one of the first killers in Dead by Daylight, and according to BVHR’s stats, he is also one of the most popular. This leads many people to think that Trapper is not a good killer in Dead by Daylight; however, this isn’t true at all. Trapper has some incredible snowball potential with his killer power (more on that later) and is still played in red ranks to great success.
One of the main differences between a “good” Trapper vs. a “bad” Trapper is understanding that you have very little map pressure UNLESS you have complete control of the area you play in. Let me explain.
As Trapper, you have traps you can set up that allow you to injure/pickup survivors that are caught in them. By putting these traps in strategic areas, you can effectively cut off access to certain parts of the map. Do survivors keep running to windows? Trap the window. Do survivors run laps around one specific part of the map? Trap that part of the map. Simple stuff.
Never let a survivor lure you away from your side of the map. If they go off into the distance in an attempt to make you chase them just cut off the chase. Usually, this means they are trying to prevent you from pressuring nearby survivors doing gens, or, even worse, the other survivors are disarming traps, which can be devastating.
Alright, let’s get into the Trappers killer power, since that is what most of my gameplay tips will be based around.
Trapper Power

In Dead by Daylight, the Trapper’s power is that he has deadly bear traps he can place which can catch and injure survivors that go in them. Once caught, survivors are forced to “attempt escape” which, similarly to the hook, is an RNG mechanic that gives them a chance to escape. Sometimes they escape on the first try (when I’m playing Trapper), and sometimes they never escape at all (when I’m playing against a Trapper).
If you walk up to a survivor who is trapped in one of your traps, press the spacebar (or whatever it is on consoles/mobile) to immediately pick them up without the need for smacking them. This gives you a bunch of deviousness points and is all around a better strategy.
How Many Traps Can Trapper Set/Hold?
The Trapper can place these anywhere on the map and starts with one bear trap by default (and a max capacity of 2 by default). Both of these numbers can be increased by using some Trapper addons (that section is down below).
Good Trap Locations
Trapper has an almost unlimited set of options when it comes to placing traps, but only a finite amount of traps. Because of this, optimal trap placement is essential on Trapper. Placing traps too far apart can leave you vulnerable to survivors escaping before you can reach them, and putting traps too close together can end up with survivors avoiding that area entirely. So how do you place good traps on Trapper? Here are my tips:
- Safe window vaults (like jungle gyms)
- Pallets
- Bushes around popular loops
- Around corners
- By Totems
- Near high traffic areas
Let me elaborate on each of these real quick for you, so you don’t have to scratch your head and wonder what I mean. For starters, putting traps on safe window vaults is always a good idea. This can end chases quickly and even if the survivor knows about the trap, that just means they can’t use that window, so win-win for you.
Pallets are always a safe bet to place traps near (look below for an example of how not to place a trap on a pallet). You can either pre-place one OR, and this is something I see YouTubers like Otzdarva do a lot, you wait for them to throw the pallet and THEN you place the trap so they can’t vault the pallet. You can even take it further than that and fake placing the trap to get them to run away from the pallet, which can give you a free hit.
Bushes around popular loops is a pretty obvious tactic to try. Extremely hard to see but it is very likely that someone will walk right into it.
Placing a trap around corners is SUPER good, especially at red ranks where survivors are trying to maximize efficiency by hugging walls hard. This can be used at the killer shack (which usually has dark grass around it) for some insane results.
Putting a trap near a totem is mandatory if you are running an important Hex, like Ruin. Before they can destroy the totem they have to disarm your trap, which creates a loud noise notification that you will be alerted by, hopefully in time to stop them from destroying the totem.
Traps in high traffic areas, even obvious traps, almost always works. At some point in the game somebody isn’t gonna be looking at their feet and will get snapped right up by a bear trap. It just works.

This is important. Don’t place traps in the middle of the pallet, as survivors can actually drop the pallet and then vault over your trap, rendering it useless. Instead, place it just slightly in front of/behind the pallet.
Can Traps be Destroyed in Dead by Daylight?
Yes, Trapper’s traps can be destroyed if the survivor has the Sabo perk or if they have a toolbox. It is pretty rare for survivors to waste a perk slot or a toolbox on a trap since they spawn back, but it can happen.
Trapper Tips
Here are some tips when playing Trapper in Dead by Daylight.
- Mind gaming with traps is extremely powerful, whether you fake a trap or just lead them into one
- Place traps in one centralized location and let the survivors three gen themselves into your little corner of the map
- Try and collect your traps quickly as you have little time to spare
- Pickup survivors instead of smacking them to save time
Trapper’s Teachable Perks

Trapper has three teachable perks in Dead by Daylight. Two of these three are popular meta perks while the other is kind of memey/poop. You can probably guess which is which.
First up is Unnerving Presence, aka, the poop one. Survivors within your Terror Radius have a 10 % greater chance of triggering Skill Checks when repairing, healing, or sabotaging. Triggered Skill Checks’ success zones are reduced by 40/50/60 %.
Brutal Strength – Your great strength allows you to shred through your prey’s defenses. Destroy dropped Pallets and Breakable Walls, and damage Generators 10/15/20 % faster. Great for getting rid of pallets quickly and still chasing the survivor down.
Agitation – Increases your Movement speed while transporting bodies by 6/12/18 %. While transporting a body, your Terror Radius is increased by 12 meters. One of the best perks in the game tbh.
Best Trapper Build
Here comes the part you all were waiting for. The best Trapper builds in Dead by Daylight. Obviously, there isn’t a one size fits all for killer perks, but, you are far more likely to win with this build than you are running some random assortment of perks. So, here are the best perks for Trapper
- STBFL
- Pop Goes the Weasel
- Corrupt Intervention
- BBQ & Chilli
If you have checked out my other builds like my Pyramid Head or Freddy builds, you may have noticed I mention STBFL a lot, and for good reason. It is one of the strongest killer meta perks but it is even better on Trapper (for a similar reason that STBFL is good on Pyramid Head). If the obsession is trapped, instead of losing a stack by hitting them with an M1, you can just pick them up instead, allowing you to negate the one downside of STBFL. Also, you can get free STBFL stacks when other survivors are trapped by just hitting them.
Pop Goes the Weasel is also incredibly important on killers with no map pressure as it allows them to basically reset a generator.
Corrupt Intervention was almost made for Trapper, as he needs a bit of time to set up in the beginning of the game (aka setting traps), which is where Corrupt Intervention comes in. It allows Trapper almost 2 minutes where he can pick up and place traps where he needs them to be without being afraid of all the gens flying by.
BBQ and Chilli is a tracking perk that allows you to see the aura of survivors that are at least 32m away from the hook. This gives you a good idea of what gen to use your Pop Goes the Weasel stack on and can also tell you if survivors are nearby. Plus, the extra bloodpoints don’t hurt (this got changed :sadface:)
Addons for this Trapper build:

You might be wondering why I chose these white/common add-ons when they are just weaker versions of yellow and purple add-ons. Basically, because of the availability of the add-ons. The difference between the white and purple addons isn’t tremendous, but the scarcity of purple add-ons versus white addons is. What I’m saying is you can almost always run Trapper Sack and Trapper Gloves, but you might not always have the upgraded variants.
Best Trapper Addons

Some killers in Dead by Daylight have some extremely bad add-ons. Thankfully, Trapper is not one of them. Here are the best addons for Trapper in DBD.
- Iridescent Stone – Every 30 seconds, one closed Bear Trap chosen at random becomes set.
- Bloody Coil – When a Trap is sabotaged or disarmed by a Healthy Survivor, the bloody coils exact their price and that Survivor becomes Injured. Slightly decreases Bear Trap Disarm speed.
- Fastening Tools – Tremendously increases Bear Trap Setting speed (50%). Moderately decreases Bear Trap Rescue and Escape speed. Moderately lowers Bear Trap Escape chance. (5%)
- Honing Stone (The Best Trapper Addon) – Inflicts the Dying State upon the trapped victim if they free themselves.
- Stitched Bag – Start with 2 extra Bear Traps. Increases Bear Trap Carrying capacity by 2.
End
And that’s it for this Trapper guide for Dead by Daylight. Hopefully, this guide/build helps you get consistent 4k’s and gets you lots of post game salt! Good luck.


