
Initially, in BTD6, any monkey will do. However, only a few towers in BTD6 are worthwhile investments on more challenging maps and levels. In BTD6, everyone is allowed to have a preferred tower.
The game’s appeal comes from leveling up towers suitable for a certain player’s strategy utilizing knowledge points and experience. It leads to some unusual and interesting constructions and strategies.
However, as players take BTD6 seriously, a gap opens between the most effective towers and the others. If a preferred building isn’t also among the greatest, then it’s just not possible to afford it. These are the most cost-effective towers for deflating the hardest balloons when the going gets tough.
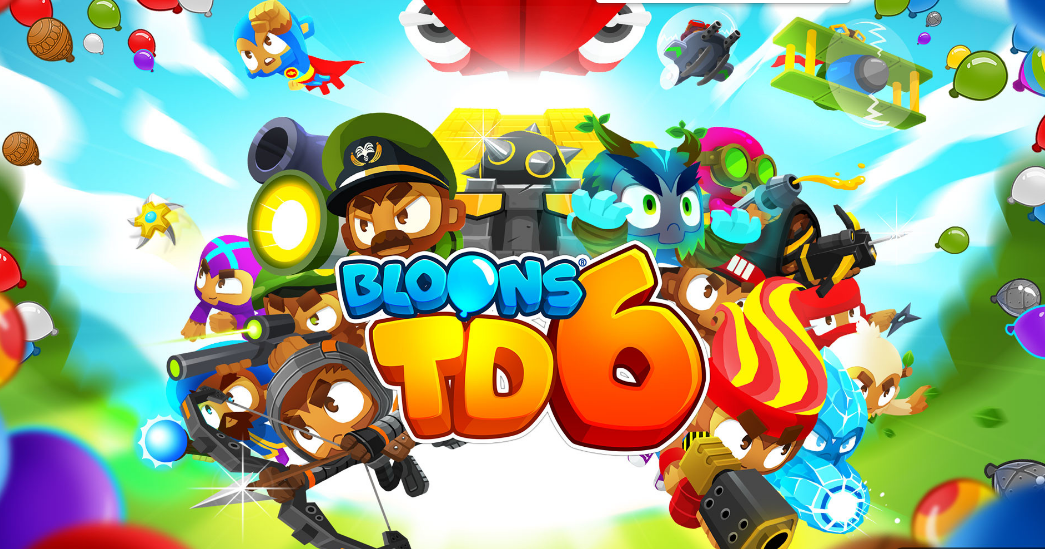
The pictures of the BTD6 towers used in this article are posted by the Redditor, to the subreddit. If you want to find more related pictures about the BTD6, you can join the subreddit. So, let’s start our article on the best towers of BTD6 that you should use to get a maximum chance of victory:
Table of Contents
The Best Towers in BTD6
Everyone has a favorite choice when it comes to a tower in BTD6. However, here are some of the best towers in BTD6 that you can use, in my opinion. So, let’s have a look:
1. Tack Shooter

As many seasoned players can attest, the Tack Shooter is the game’s most misunderstood structure. The weapon has no adverse effects on its opponents and won’t bring down any huge MOAB-class blimps on its own. But when has dealing much damage to a large region been pointless?
It works well at the beginning and middle rounds when the balloon waves are relatively thin and may get stacked on top of one another. In the future, the Tack Shooter may not be able to bring down the blimps themselves, but they are typically laden with smaller balloons that the weapon can destroy.
2. Elite Defender

Crowd control is crucial in the early stages of the war against Bloonarius. In later levels, the towers in BTD6 you’re using will typically take care of his spawns, but in the earlier levels, choosing the most efficient way to deal with the clustered bloons is vital.
The elite defender is an excellent counter to this, as developers designed it to dispose of large numbers of low-level bloons quickly. You can boost it by employing an elite shooter, and that elite sniper can generate income for you.
3. Monkey Ace

Following the first upgrade route will flood the screen with darts and anti-MOAB missiles, dealing significant popping damage. Although this method of upgrading is effective against large numbers of smaller bloons, it is no match for more powerful explosives like MOABs.
The second route enables stealth detection. Tsar Bomba bestows the power to unleash a giant bomb, stunning everyone but the B.A.D. bloon in its path and damaging the target. The third improvement is the cheapest and adds the ability to deal with lead bloons to your arsenal.
The Spectre upgrade is my preferred upgrade path because of its low cost and high power. The final upgrade is tremendously potent yet costly.
4. Mortar Monkey

Expert players always have at least one Mortar Monkey on the map, even at high wave counts and infinite rounds. The infinite range certainly will if the tremendous area damage doesn’t convince you. The Mortar Monkey can overcome any difficulty.
The advantages do not stop there, though. When traveling down specific routes, Mortar Monkeys can deal additional damage to MOAB blimps and even slow them down. You should not disregard the Mortar Monkey on challenging maps because of its damage and support effects.
5. Bomb Shooter

The elite defender is a potent tool for countering Bloonarius’ spam, but recursive clusters may prove even more effective. A 2-0-4 bomb shooter may be purchased for a few thousand monkey dollars and is an excellent tool for crowd control.
Never underestimate the power of three or four of these magnificent towers; they can wipe out the entire first tier of Elite Bloonarius. The recursive cluster bomb-shooter is necessary for various situations since it is one of the most efficient methods of dealing with clusters of bloons.
6. Monkey Buccaneer

The first upgrade path is the way to go for maximum popping power due to its high attack speed. The two land tower slots granted by the Carrier Flagship are especially helpful on water maps.
Since they are relatively inexpensive and can detonate many bloons in a single swing, the first two upgrades on the second path are among the finest for early rounds. Using the last two upgrades’ activated ability, you can harpoon MOAB-class bloons, quickly detonating them.
The third path enables stealth detection. Banana Plantations are an extremely unlikely source of income on maps that are predominantly water. Establish a thriving Trade Empire along this route and enjoy the regular income of $800 per round, boosted by a further $300 for every extra 0/0/3 Buccaneer in your fleet (max 20 others).
Investing $64750 in this enhancement and adding nine more Merchantmen increases your profit per round to $2780. We estimate it will take around 20 rounds to see a return on our money.
7. Wizard Monkey

The Wizard Monkey meets many criteria for a “good” tower. It has good damage, range, and damage-over-time abilities that make it easier to kill off particularly strong foes. Then why is it included in a discussion of the top skyscrapers?
If the Wizard Monkey resurrects balloons, his new “zombie” buddies will be hurled backward into oncoming traffic. With a steady supply of balloons at his disposal, the Wizard Monkey becomes even more effective as the waves increase in intensity.
8. Ninja Monkey

When you’ve set up your towers in BTD6 to deal with any incoming spawning, you can turn your attention to how to deal damage to the bosses. Because Lych spawns high-HP MOABs, your damage against the monster will also determine how you deal with his spawns.
The 1-0-4 ninja monkey is one of the more budget-friendly choices for tier one. Using four of these is an excellent method to save money while still securing a first-round victory, as they can defeat even elite Bloonarius at tier one.
9. Sniper Monkey

There can only ever be one tower of level 5 on the map at any given moment, and that’s probably because of the Sniper Monkey. You would overpower more than one of each, given their indefinite range and ability to destroy ceramic and concealed balloons.
Yet, even just one to three of these is sufficient to clear many maps on their own. If nothing else, put some distance from the activity and use the vacant regions to your advantage. Sooner or later, they’ll debuff MOAB-class blimps and call down support crates for additional revenue.
10. Ice Monkey

Sustaining your damage dealers is crucial while facing bosses, especially at the most elite difficulty levels. Despite the widespread recognition of the game’s central premise, there is more to Bloons than simply popping balloons with darts.
Since Lych will siphon off the buffs intended for your towers, conventional support, such as alchemists, is out of the question. Even though you can’t fortify your towers, you can still weaken the boss.
By strategically placing Super Brittle, you can significantly weaken the boss and give your towers an advantage. This ability causes anything in its area of effect to absorb more damage from all sources.
11. Glue Gunner

While more of a tower defense game than a traditional mobile arcade title, BTD6 nevertheless features some familiar arcade staples. The enemy balloons will employ various tactics to avoid being popped.
The Glue Gunner may be the only primary tower here, but it certainly earns its spot. It’s doing a fine job on its own, with a larger range than comparable towers, but it stands out by taking out the fearsome MOAB class blimps with this sluggish.
12. Super Monkey

It’s possible to get the impression that you’re playing an infinite runner-style mobile game when the balloons start to flood in. Greater difficulties can make players feel helpless when they try to pop many balloons simultaneously.
The Super Monkey’s laser blasts and knockback skills shine in this situation. When balloons are sent back, it buys the damaged towers in BTD6 additional time to deal with the waves. Because the area attack protects the Super Monkey from these clusters, he can ignore them.
13. Dartling Gunner

The MOAB Assured Destroyer is your best bet for ordinary and elite tier-two bosses. The M.A.D. requires some mouse-tracking to stay on target, but it deals damage at a rate that no other tower can match.
In addition, a M.A.D. paired with an Avatar or Wrath setup is a solid choice on Elite if you can’t afford a Paragon by Tier 3. It allows the M.A.D. to retain its adaptability. The M.A.D. is a must-have when going up against bosses because of how cheap it is, considering how useful it is.
14. Banana Farm

Without the Banana Farm-disabling modes, this would undoubtedly be near the top. If it’s disabled, why? And the extra money it generates is bananas. Planting a handful in the middle rounds makes several upgrades financially feasible.
You can save yourself the trouble by opting for the upgrades that do the banana collecting for you. In bouts lasting 80–100 rounds, players only need about four or five of these to construct anything they like.
15. Heli Pilot

It’s impossible to find a map where the Heli Pilot isn’t valuable, with his ability to fly about using the best upgrading path. The Heli Pilot goes from being a nice addition to a necessary tool on a few levels due to the dynamic nature of its routes, spawns, and end zones.
No matter who the main damage dealers are for either team, being in the face of every balloon the moment it spawns is a huge benefit. Even though it isn’t the Heli Pilot, he does a better job of reducing the impact of the wave on the other towers in BTD6 than anybody else.
Conclusion
We come to an end to our article. Here is a summary of what we discussed:
- There are many towers in BTD6. But still, each person has their own choice.
- The top 15 towers in BTD6 are the ones that I have mentioned here. These are the best towers in BTD6 that will help you win every game.
- The best tower is considered the one that can destroy each type of bloon in BTD6 and maximizes the chances of victory.
We’ve concluded our article. For more informative articles, stay tuned!


